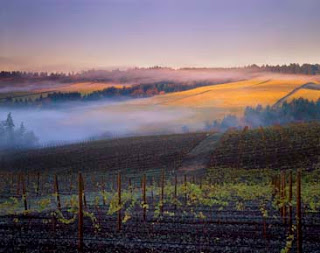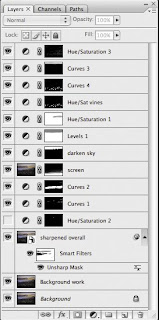
For example this photograph, Fog and Fall Colors over Willamette Valley Vineyards, was originally taken on 645 Velvia film, scanned and optimized. I usually complete the optimization adjustments in the following order: (Vineyard in foreground is Bella Vida and background is Knudsen in the Red Hills above Dundee, Oregon.)
1) If the image is not already in the Pro Photo RGB color space, I will convert it. I want all of my Legacy Images in this larger color space because in the future we will have the technology to take advantage of the additional colors.
2) Create a duplicate background layer which I spot for any dust. I like to have this duplicate layer in case the background layer somehow gets corrupted. I had one group of images where the background layer was corrupted by a bad Firewire cable connecting the working hard drive to the storage hard drive.
3) Begin with global adjustments, usually Levels and Hue Saturation.

4) Although I didn't do so for this image, then I usually duplicate the dust spotted background, make it a smart object, and do a shadow/highlight adjustment.
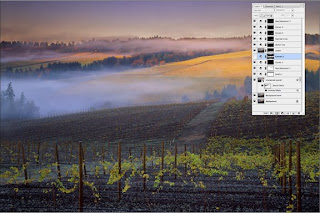
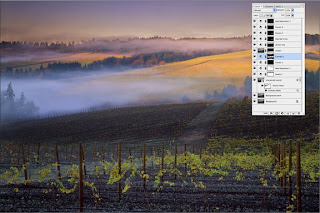
5) Then I usually make fine adjustments to the image, beginning with large areas, continuing to smaller and smaller areas. Check out how monor adjustments affect the final image.


I'm not sure how clear this will be on some monitors, but I've darkened a selected area with a Curves Adjustment Layer.
6) Often I will use Select>Color Range to select and adjust specific color areas.
7) Finally, I'll duplicate the background (with the shadow/highlight adjustment if I've used that), make it a smart object (again if I've used shadow/highlight) and sharpen the image for the specific size it will be used. Notice that I've masked some of the sharpened layer so that not all of the areas are sharpened equally. By making the sharpened layer a Smart Object, I can change the amount of sharpening for each output. Remember that a 20X24 image for print needs more sharpening than a 72 ppi web image. With the Smart Object layer I can sharpen to size and need
8) Obviously I've saved the image as I work, but finally I save a Master File. This final master file needed to be saved as a PSB file–yes, that's PSB not PSD. With all of the layers, the 16 bit master file is 2.04 Gigabytes. Photoshop requires anything over 2 GB to be saved as a "Large Document Format" filed, thus PSB as in Photoshop Big.
9) I save the Master File on at least three separate hard drives, two in the studio and one which is stored off site.
